Table of Contents
How to set up a mailing list with the MailPoet plugin
Setting up multiple mailing lists is simple and easy with the MailPoet plugin. MailPoet is also free up until you hit 2000 subscribers.
Installing the Plugin
Log in to your WordPress Dashboard
Go to Plugins » Add New
In the search bar, search for mailpoet and then click install now once the search result comes up.
Setting up a Subscribe Form
Go to MailPoet » Settings
Click on Forms

A default form will already exist, so you can edit that or create new form. You can have as many forms as you like. On each form you can edit what fields are available and whether or not they are mandatory. Once you have a field you are ready to use, it can be added to your page either through a widget or a shortcode in the Page Editor from the Visual Editor Toolbar.
Whenever the form is filled out, the user will automatically be added to the list associated with the form.
Configuring your Newsletter
Go to MailPoet » Newletters
Click on Create a New Email
There are two types of Newsletters that can be created: Automatic or Standard
Standard Newsletters are sent out only once, whereas Automatic are sent out on a daily, weekly, or monthly basis. You can also choose to have Automatic Newsletters send out immediately when a specific event occurs.
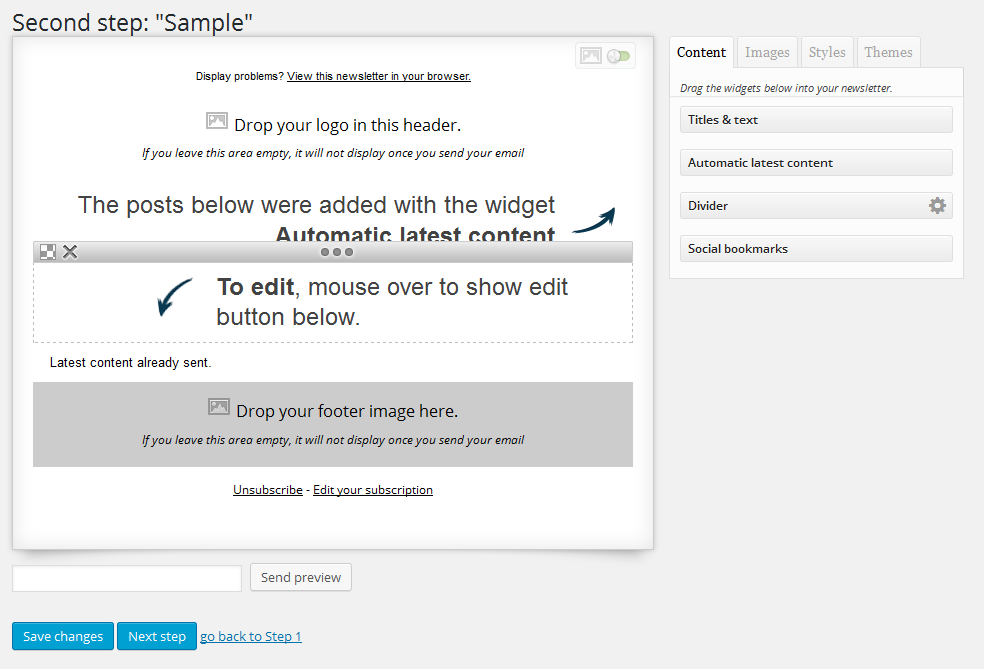
Once you have chosen the type of Newsletter and given it a name, you can start designing it.

Select the logo, titles, styles and other content that you want for your Newsletter and then hit next page.
If everything is correct, you can enable the newsletter by hitting Activate Now
